Laminate Flooring Pictures These are Jobs I Completed, Before And After Photos
Here are various photos of laminate and hardwood flooring jobs I have taken during the installations. You can click on each photo to see a larger version. I will be adding more on a regular basis.
Different Manufacturers Photo
Additional photos of Vanier 12mm Piano finish (high gloss) laminate flooring.
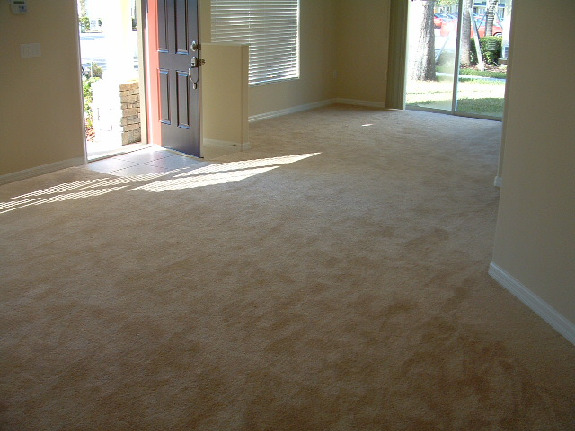
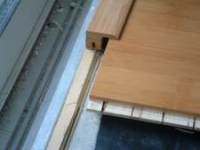
SUNCREST 12.3 LAMINATE FLOORING
|
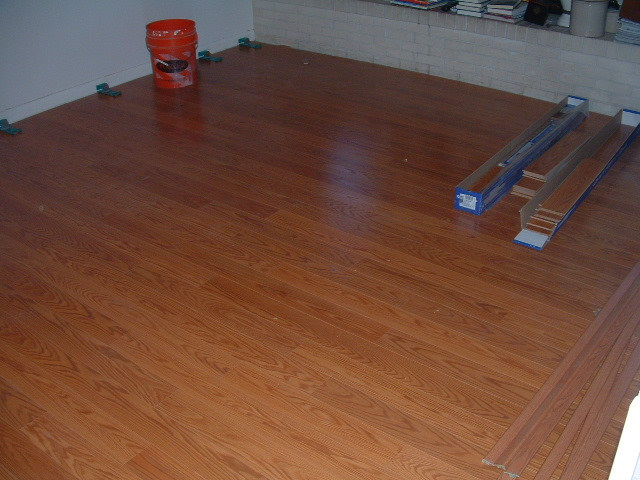
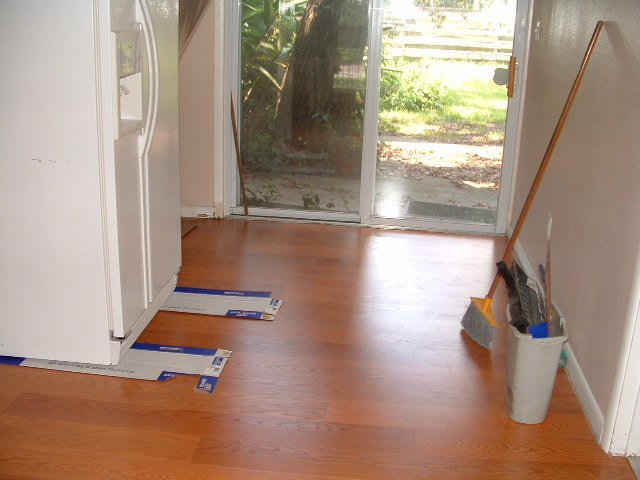
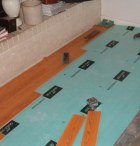
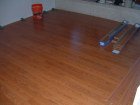
BEFORE--Here is a job before I removed the old carpet. The laminate I'm going to lay here is Suncrest.
This laminate is 12.3mm thick
|
|
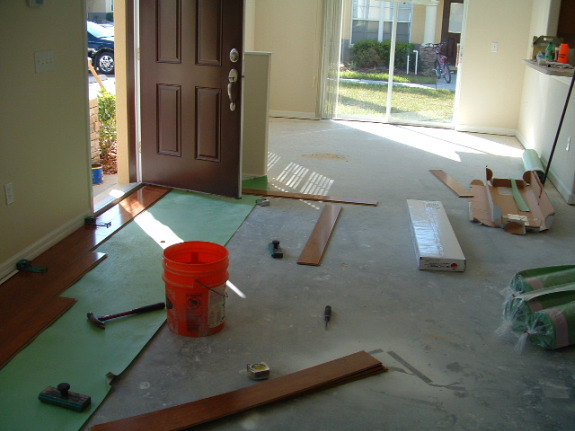
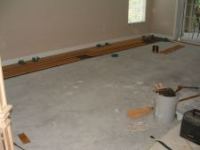
IN PROGRESS—Carpet removed,I decided to start on the outside wall and run the flooring up to the sliding glass doors.
This laminate has a beveled edge on all four sides. The bevel gives it the appearance of real wood.
|

|
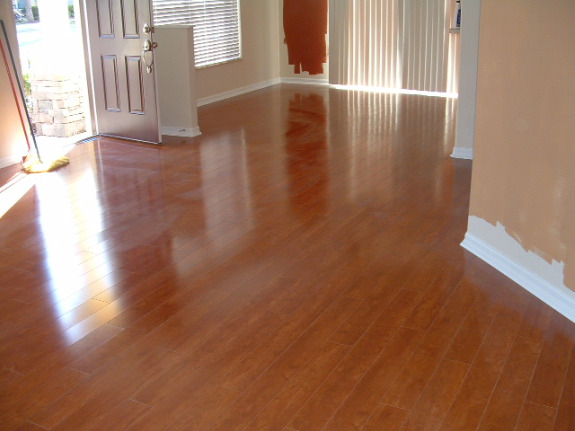
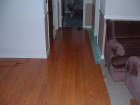
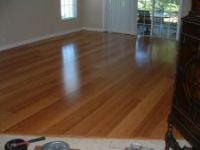
AFTER—Floor completed it looks beautiful with a high gloss finish. It took me 2 ½ days on this job.
Removed carpet, pad and tack strip. Installed laminate, transitions and all new ¼ round.
|
QUICK STEP NARROW BOARD LAMINATE
|
|
|
|
Here I'm starting the installation of Quick step narrow board.
|
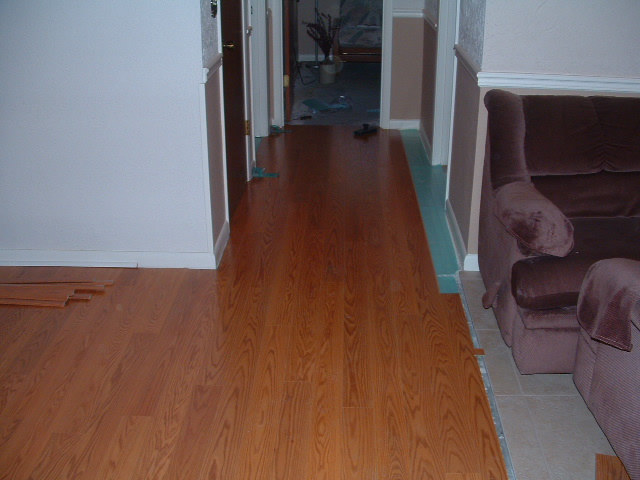
The floor extends down the hallway.
|
This laminate floor has the look of real hardwood floors.
It comes in three different sized planks.
|
BAMBOO FLOATING WOOD FLOORING
|
Witex floating wood flooring is going to be installed in this room. This is bamboo engineered flooring.
|
|
Here I'm starting on the straight wall. This makes it easier not having to deal with any obstacles.
|
|
This flooring is about 5/8 inch thick which means I have to modify the transition here where it meets the sliding glass door.
|
|
This turned out to be a very beautiful floor. You can see the variation in the color in this flooring. There is more effort involved compared to installing laminate floating floors.
|
PREPARATION TO INSTALL QUICK STEP LAMINATE
|
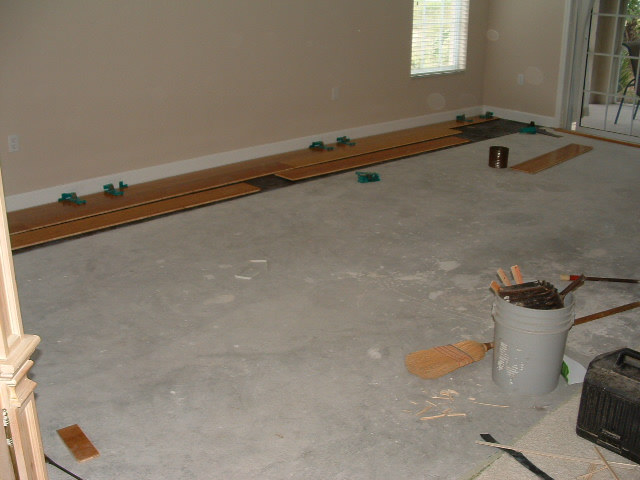
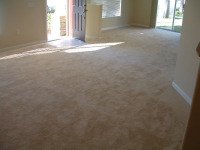
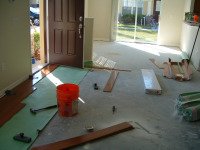
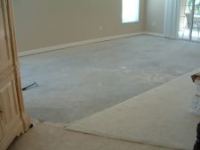
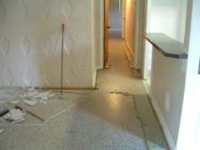
BEFORE—Here I am starting the floor preparation, removing the carpet, padding and tack strip. There was also a ceramic entry in the front doorway that I also removed.
|

|
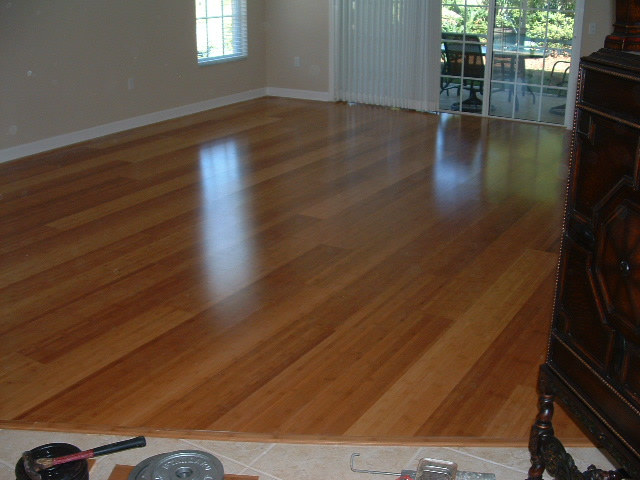
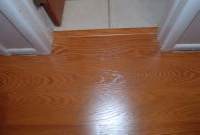
AFTER—I installed Quick step Eligna, Canyon oak, 8mm in the living room all the way down the hall into the b/r. I had to leave almost ½ inch of expansion at both ends for this length.
|
|
Here you can see the realistic texture that resembles real hardwood. Each plank is like one solid board, rather then two or three smaller boards. I covered the spaces on each side with 1/4 round.
|
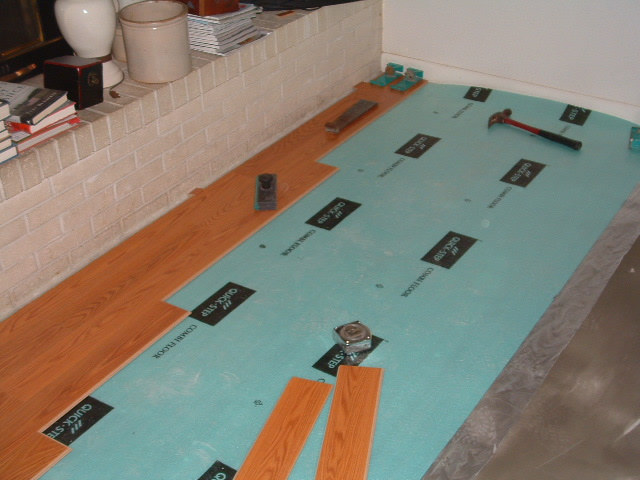
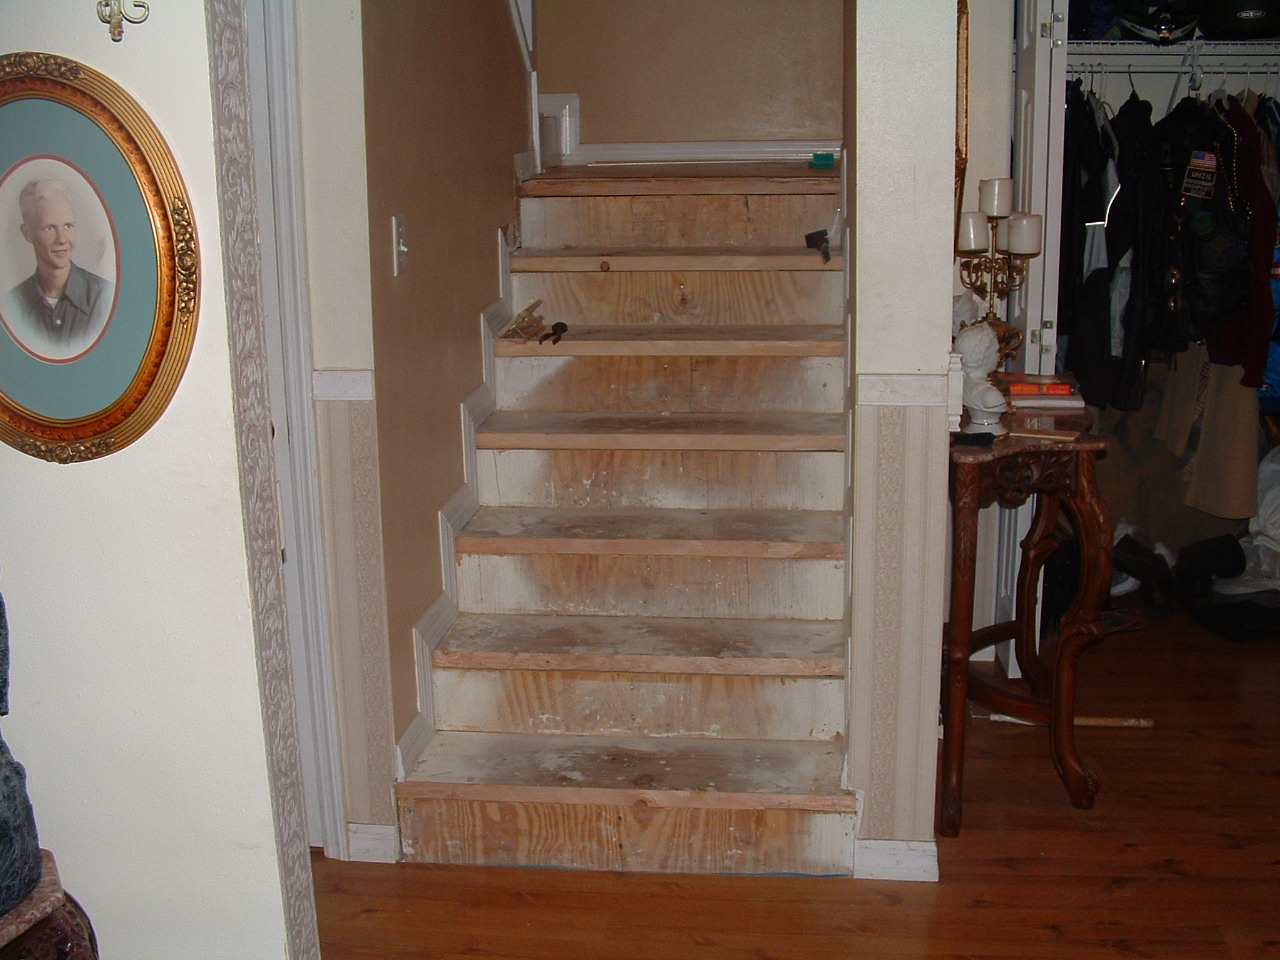
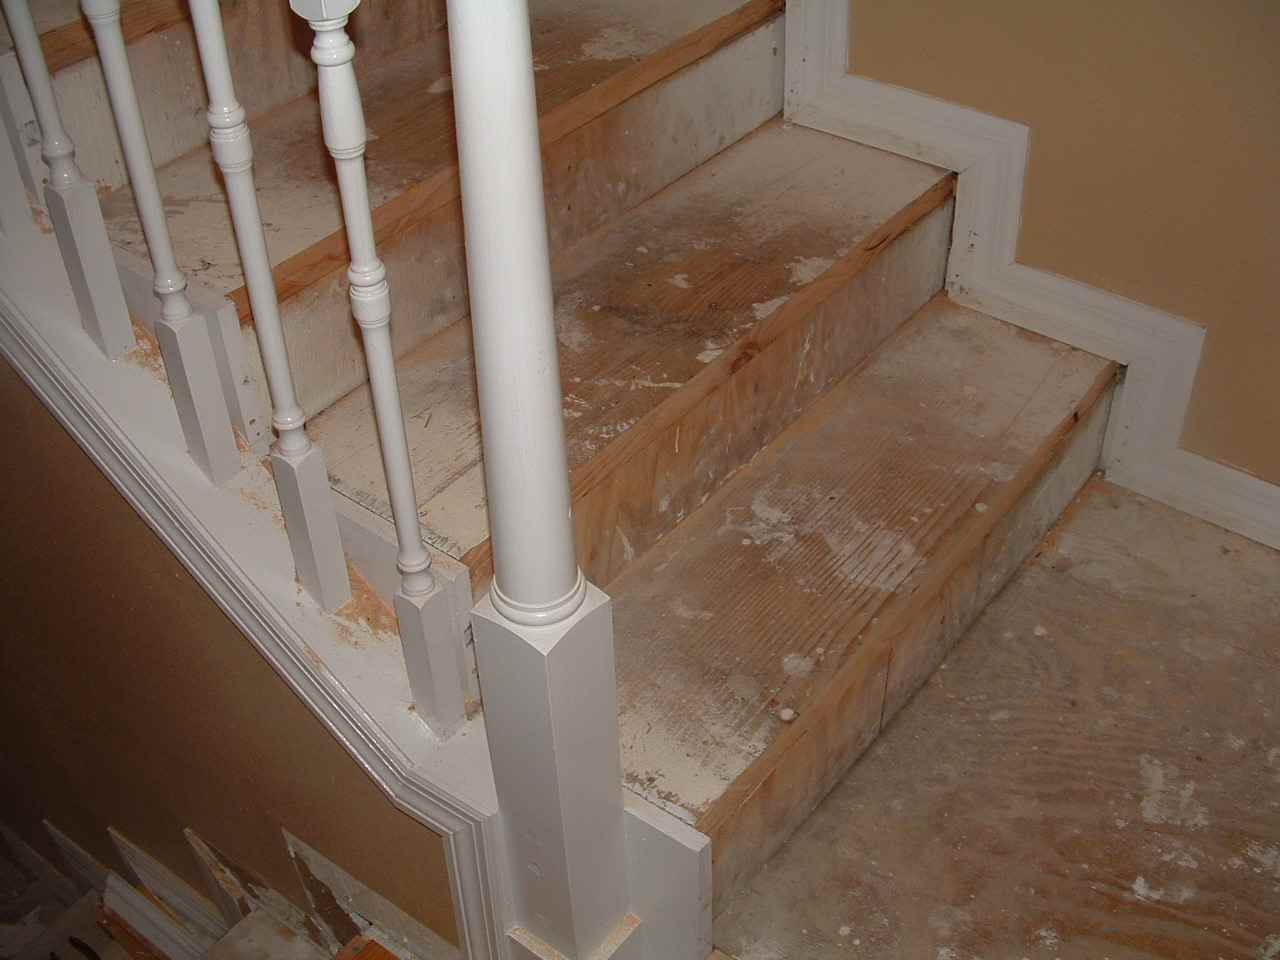
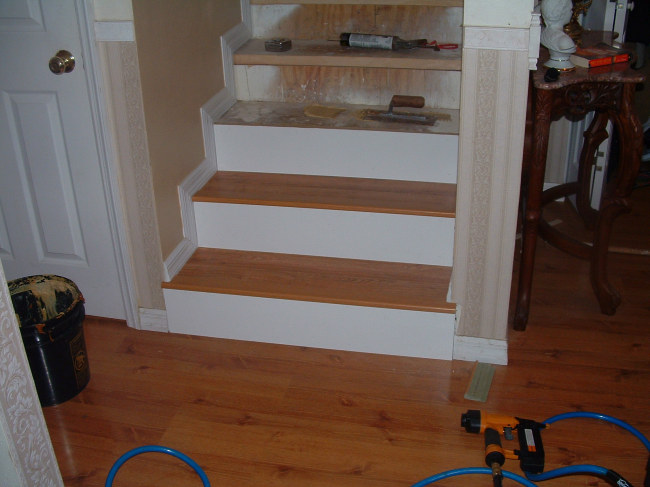
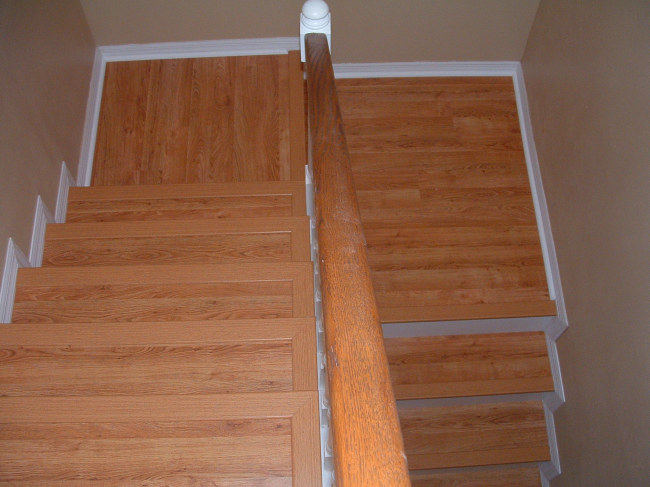
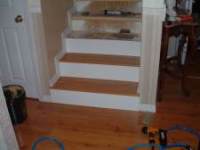
LAMINATE FLOORING ON STAIRS

|
I took this photo of the stairs after I removed the carpet and cut the over hang off. I'm installing laminate flooring on this stair case.
|

|
This is a better view, you can see how the over hang is cut flush to the tread.
|
|
I'm starting the installation from the bottom working up. I glue and use nails where they can be hidden.
|
|
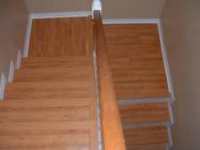
This is the finished stair case. It sure made a huge difference compared to the old carpeting.
|
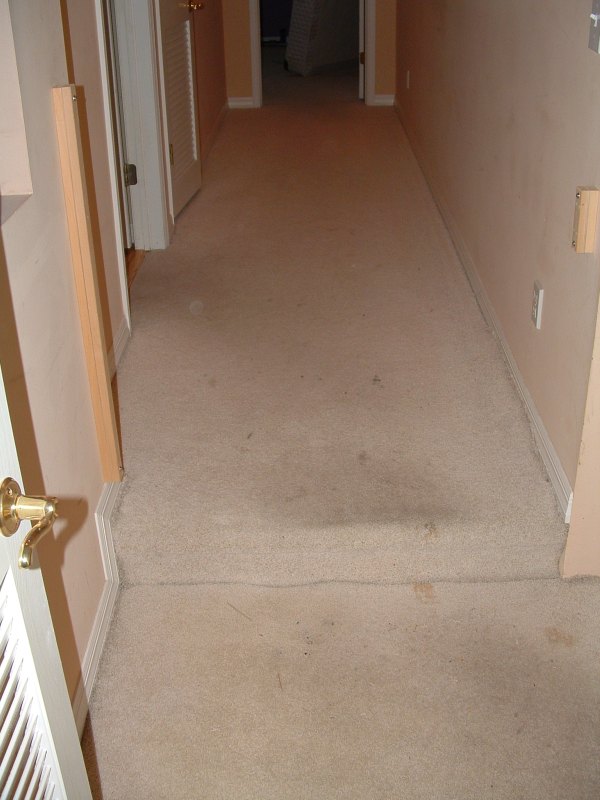
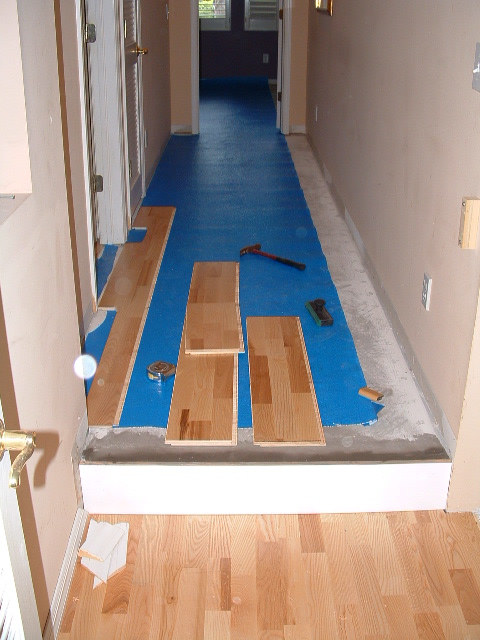
KAHRS FLOATING WOOD FLOORING
|
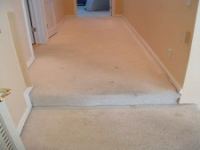
Here is the landing and hallway before I removed the carpet. Job location Tampa FL. Product: Kahrs,Kalmar Long board. Color: Ash.
This flooring is designed to be installed as a floating floor, glued down,or stapled.
|
|
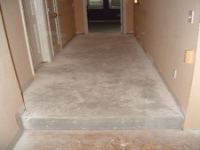
The planks measure 8 inches wide by 8 feet long. The planks have a locking system like laminate flooring. Here is the hallway after removing the carpet, padding, tack strip and base board.
|
|
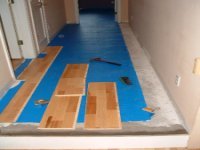
This installation consists of a landing a hallway and a bed room.
I have to start at the step her so my stair nose will fit to the flooring. My client choose to have a white painted riser.
|
|
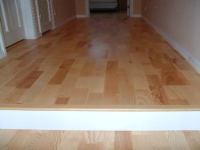
The riser had to be glued to the concrete with a good construction adhesive. Here is the completed hall way with the stair nose installed. I also removed the base board, cleaned, painted and reinstalled it.
|
|
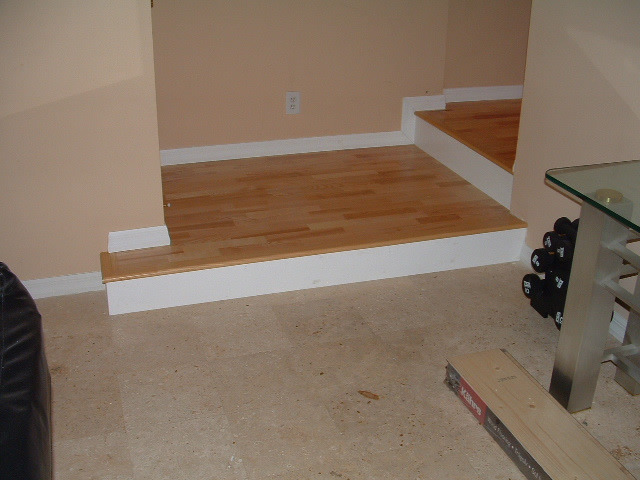
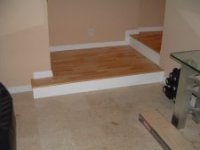
This is the completed landing and the step up to the hallway. The landing was constructed with wood which made it easier to attach the riser using nails and glue.
|
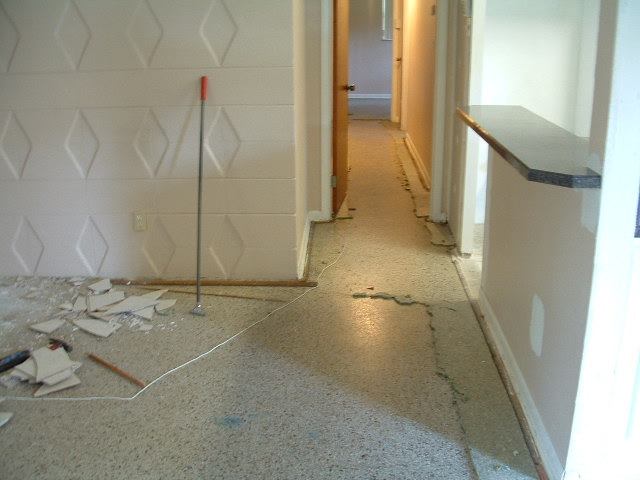
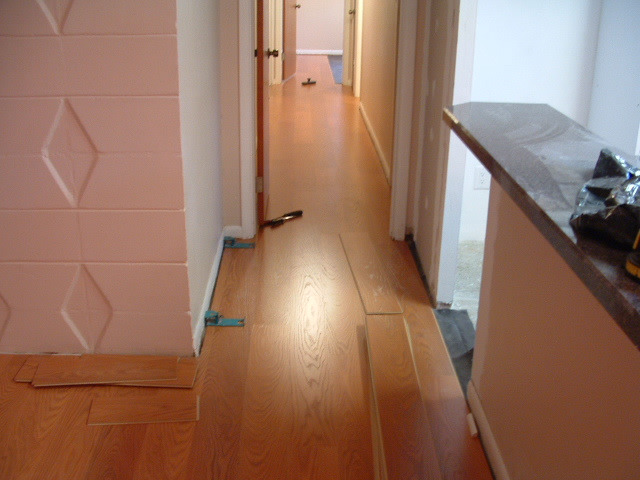
REMOVING CERAMIC TILE
|
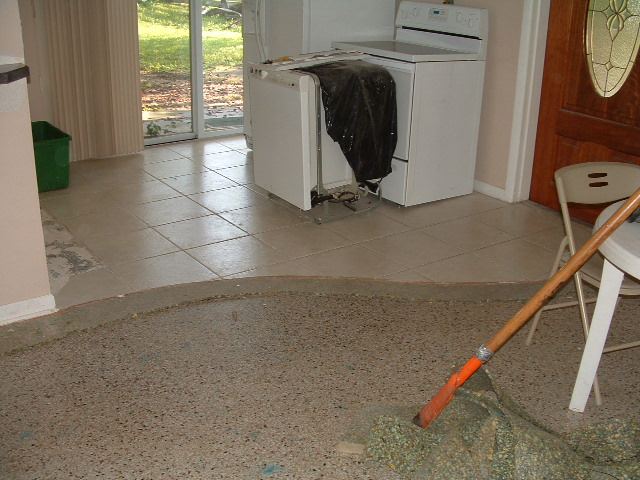
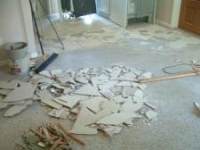
Here is the ceramic tile I needed to remove so I could install the Quick step laminate. This can be dangerous. Good gloves and eye protection needs to be used here.
|
|
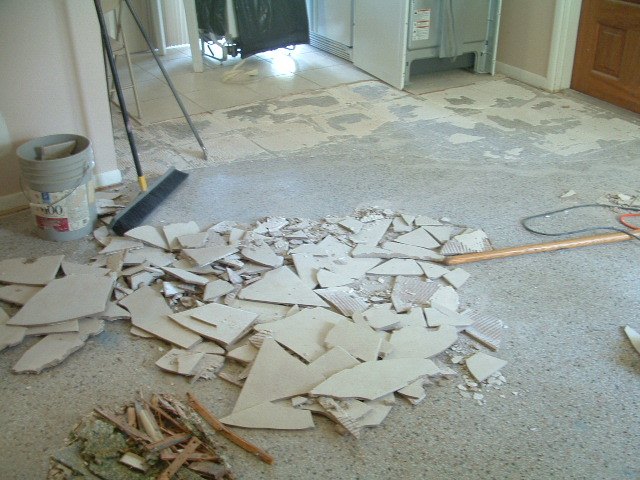
I'm in the process of removing the ceramic tile. I was lucky here the terrazzo floors are slick and allow the tile to be removed easier. The pieces of tile can be as sharp as glass, so if you ever do this be very careful.
|
|
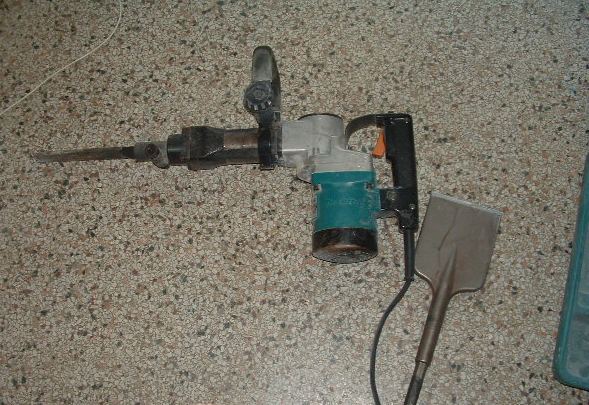
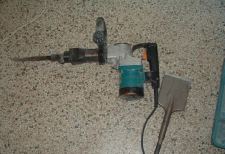
This is the tool I used here for taking up this tile. Makita Jack Hammer. I also used a scraper for getting the thin set of the floor. I used quite a few blades with my scraper.
|
|
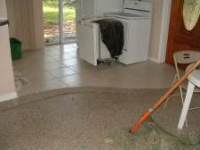
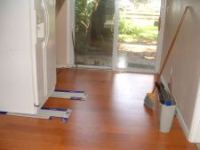
Here is the area where I removed the ceramic tile and installed the Quick step laminate flooring. Quite an improvement.
|
Return to Home Page